
Multi-branch and multi-connector assemblies
Custom Wire Harness Assemblies
Bring several connection ends, branch lengths and protection requirements into one assembly. LDZY builds to your drawing or helps prepare a drawing from your sample and connection requirements.
Typical production minimum: 500 assemblies. Samples generally free; project details are reviewed before production.
Two construction examples
Choose the layout around your connection points
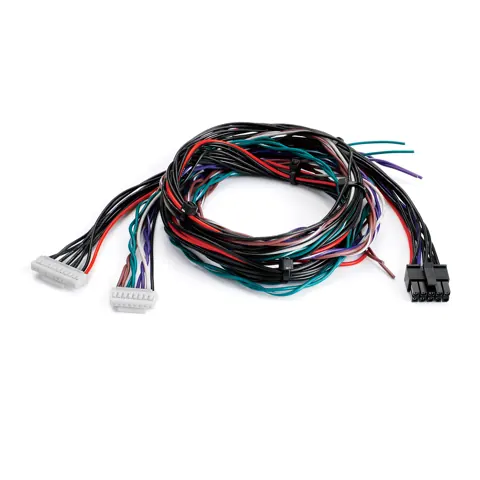
Grouped wires with different connection ends
Identify each connector and loose-lead group separately. Crimped contacts, soldered ends and stripped/tinned leads can be specified. Use a branch schedule to match the endpoint, wire length and required end condition.
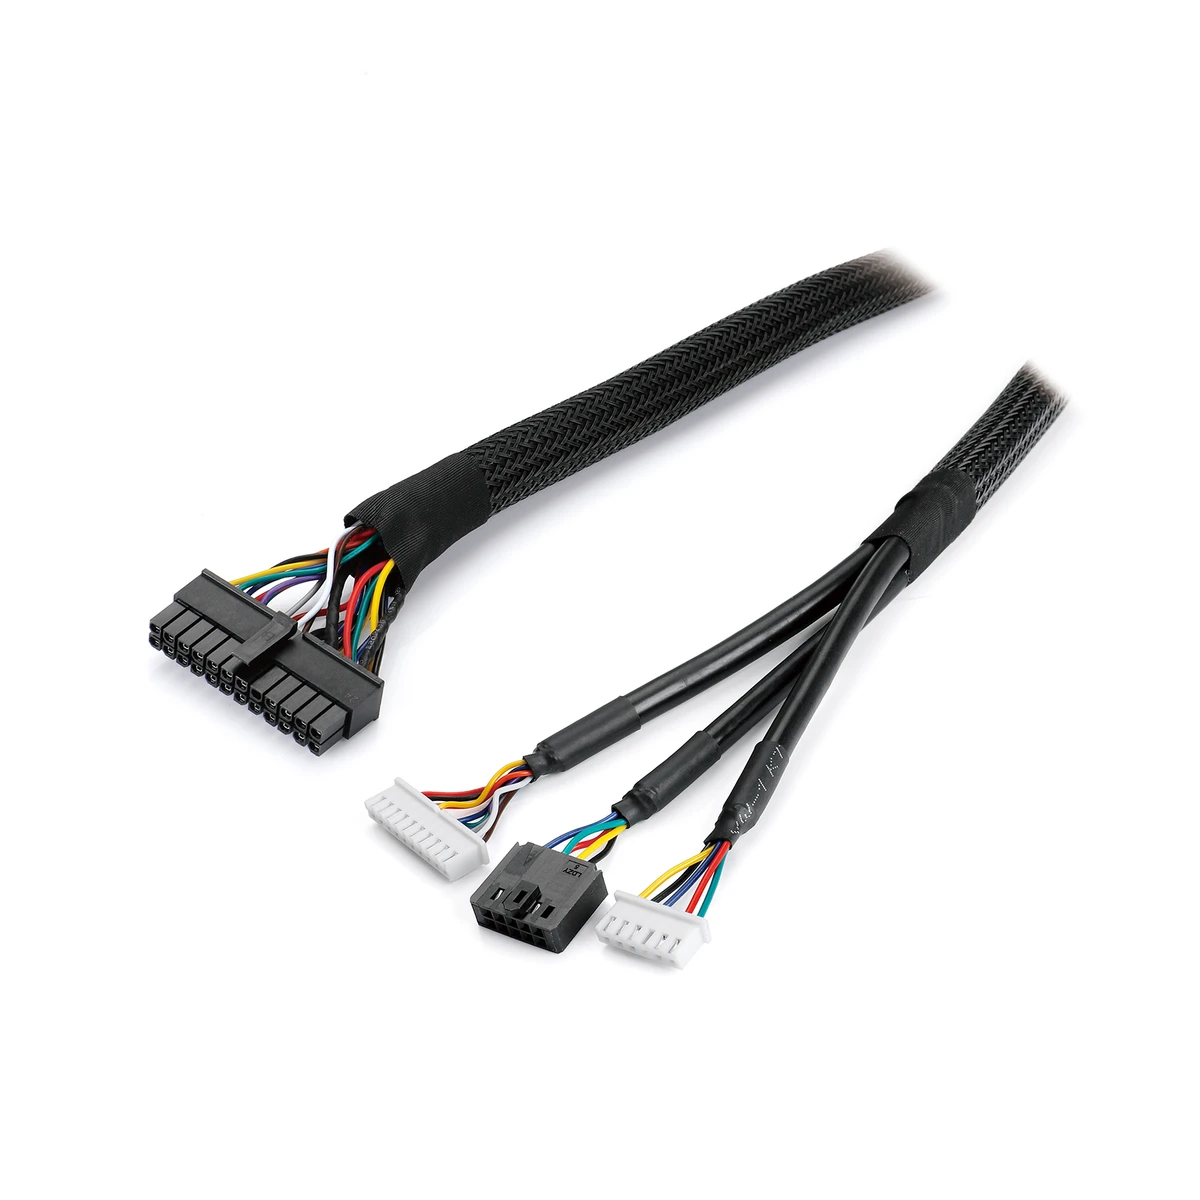
Sleeved bundle with separate connector branches
The example above shows how a covered bundle can separate into individually protected branches. Define the start and end of each protection zone, the exposed lead length and the space around each connector.
Protection and label arrangements follow your project requirements. Photographs illustrate construction styles; they do not establish a fixed pinout, rating or installation fit.
Need individual leads or simpler end-to-end wiring? Explore discrete-wire assemblies →Separate routing from circuit connections
A branch schedule makes the drawing easier to review
Use one identifier for each endpoint
Keep the same endpoint references on the layout, connector drawings and electrical connection table. For example, a branch marked B should have its own connector reference, length datum and protection instructions.
Show the assembled routing rather than relying on a coiled product photograph. If branch locations are not yet fixed, mark them for review before sampling.
See drawing reference and contact-view guidance →- Connection ends
- Give every connector or lead group an identifier. Include the selected housing and contact references, contact-view direction and unused positions.
- Branch geometry
- Mark where each branch leaves the main bundle. State the length datum and tolerance for each branch, not only the overall length.
- Electrical connections
- Provide an end-to-end connection table. Identify any shared connection explicitly; a physical branch on a sketch does not establish an electrical junction.
- Protection and labels
- Specify where each sleeve or protective covering begins and ends. Identify label locations, label content and any areas that must remain accessible.
- Installation conditions
- Include routing space, fixing points, movement and environmental requirements. Identify details still awaiting confirmation.
From the first reference to sample approval
Agree the complete harness before production
Share what you have
Send your drawing, BOM, sample details or routing sketch, together with sample and production quantities. Note which dimensions and connection details remain open.
Confirm the drawing
Review branch locations, length references, connection ends, protection and labels as one controlled revision. A physical sample is documented before a new sample is made.
Review the sample in use
Check the branch reach, connector access, routing and label visibility in your installation. Confirm the drawing and sample before placing the production order.
Electrical tests and production inspections
Every completed assembly is electrically tested for continuity, short circuits and wiring errors. Appearance and terminal retention are checked through periodic production inspections. Customer equipment and application validation remain separate from factory electrical inspection.
Review inspection scope →Questions before starting a harness project
Which end treatments and branch connections can you provide?
We can provide crimped contacts and connector housings, soldered ends, stripped and tinned leads, and multi-wire junctions. Specify the required construction and connection map; the connection method and dimensions are confirmed for the project.
How is this different from a discrete-wire assembly?
The constructions can overlap. Our discrete-wire page focuses on individual wires, contacts and end treatments. This page focuses on coordinating several branches, connection ends, protection zones and installation dimensions in one harness.
Can I start with a sample or a sketch?
Yes. With an existing drawing, we sample to the drawing. With a physical sample, we prepare a drawing before sampling. If neither is available, we can assist with drawing preparation from your requirements. Identify uncertain details so they can be reviewed.
Does a branch mean that the wires are joined electrically?
No. A branch describes how wires are routed. The connection table must separately identify every circuit and any required shared connection. The connection method and construction are reviewed for the project.
What are the sample and production conditions?
Samples are generally free, and we do not charge crimp-tooling or fixture fees. The typical minimum production order is 500 assemblies. Include your sample and production quantities for review.
Let’s discuss your wire harness layout.
Share your drawing, sample requirements or project description.